Chocolate Thumbprint Cookies

Chocolate Thumbprint Cookies from Cookies by Bess have to be one of the prettiest cookies I’ve made! The chocolate cookie rolled by it’s self is wonderful…roll it in nuts or sugar and top with a bit of icing and you’ve got a cookie that lands on my list of top 10 favorites.
I just love the flexibility of this cookie recipe! Nuts or sugar, icing or candied fruit, in the end anyway you go you’ve got beautiful cookies that have just enough chocolate combined with the perfect compliments. When I tried one of the finished cookies, I just couldn’t believe how good they taste! Chocolate Thumbprint Cookies have become one of my favorites!
I’m rating Chocolate Thumbprint Cookies 3-stars for cookie baking difficulty. There are several steps in the baking process, none difficult, but they do add time and effort to the baking process. But don’t let the 3-star rating prevent you from making this recipe…it is more than worth it!
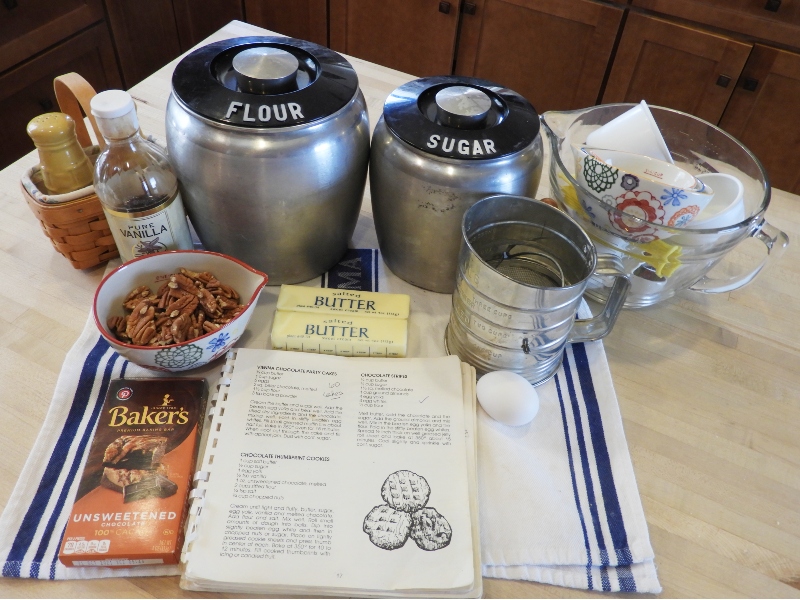
All ingredients were in my baking pantry, so I was good to go!
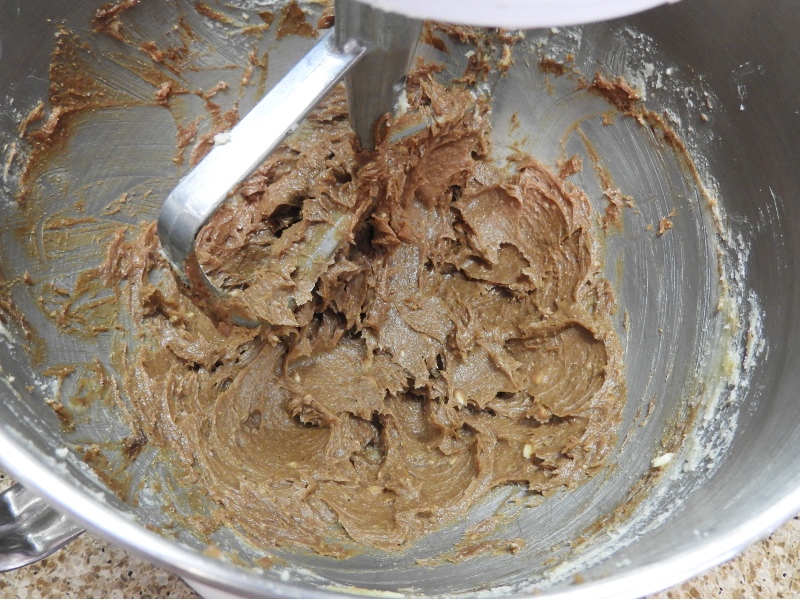
I was surprised at the small amount of chocolate called for in the recipe. Surprised again when I tasted how much chocolate flavor in the baked cookies! 1 ounce of melted unsweetened chocolate was the perfect amount of chocolate flavor!
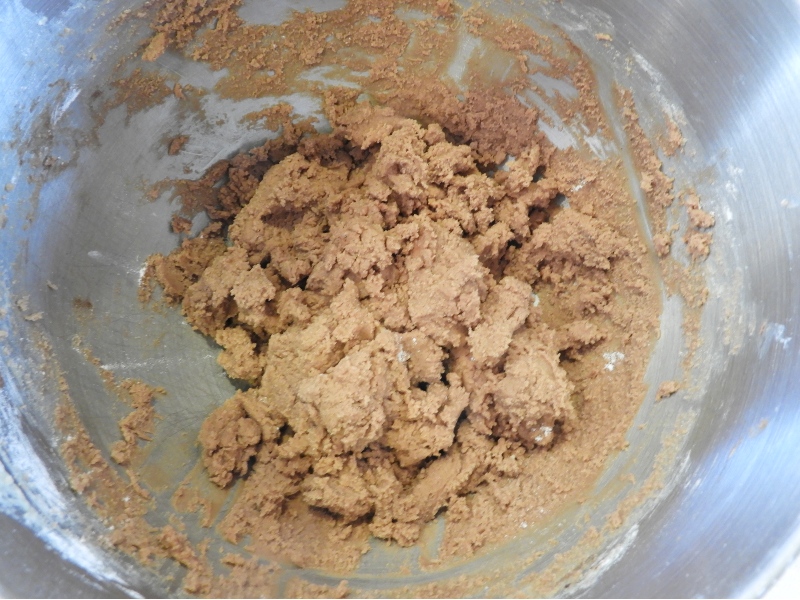
Everything mixed up nicely and the dough was the perfect consistency for rolling the cookie balls.
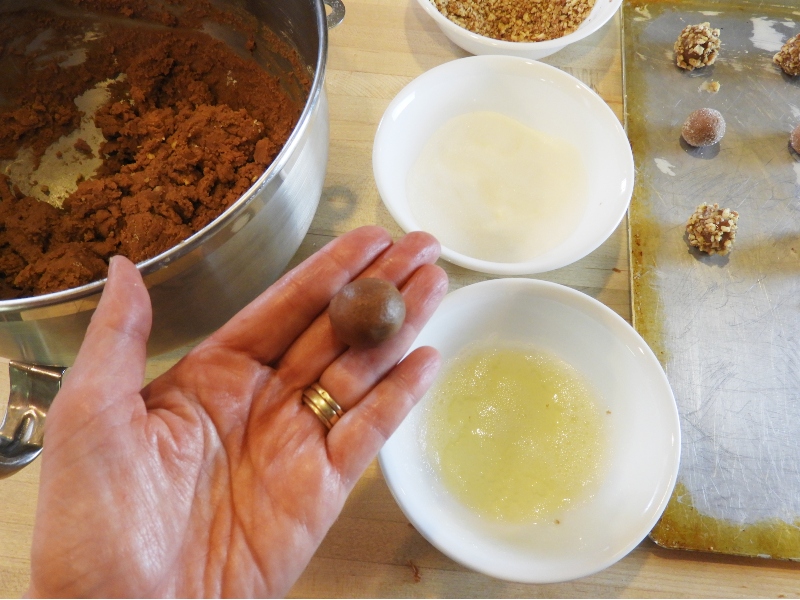
I pulled all the ingredients needed for rolling the cookies. The recipe mentions to beat the egg white slightly which I did. The recipe also mentions chopped nuts, but not the type…I decided to use walnuts. Finally, I poured some granulated sugar in a shallow bowl.
Next, I was ready to roll the cookie balls. The recipe doesn’t mention the amount of dough to use or what size to roll the cookie balls, so I decided on enough for about a 1-inch cookie.
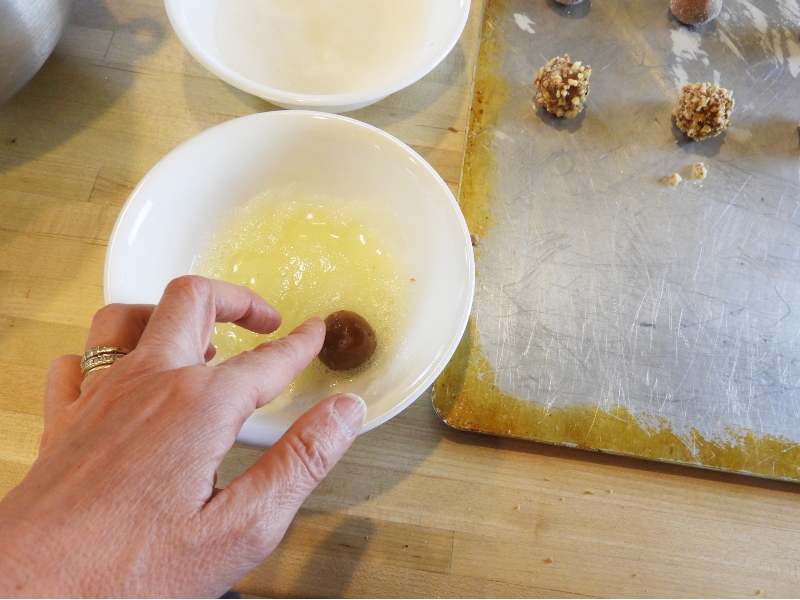
I started by rolling the cookie balls in egg whites…
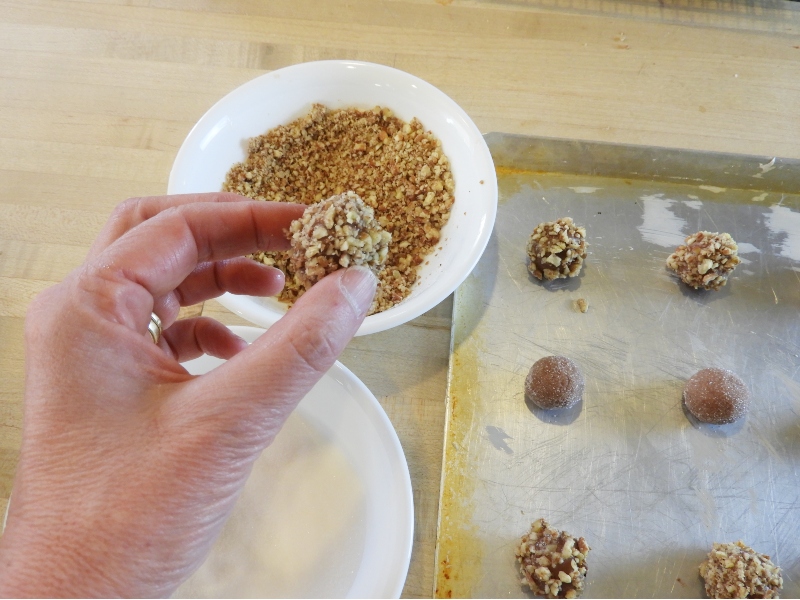
Then the nuts…
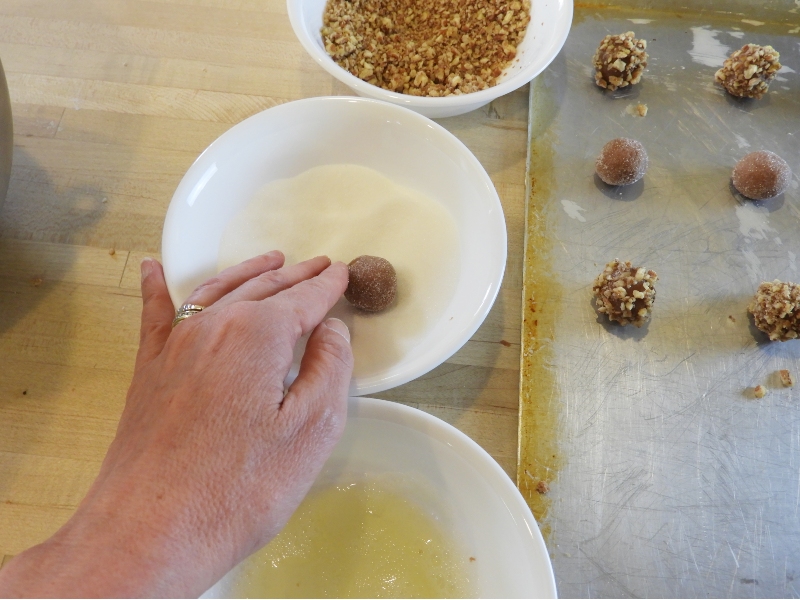
Rolling the cookie balls in egg whites then sugar didn’t work so well, so I decided to only roll the balls in just the sugar. This worked much better as he sugar attached nicely to the cookie dough balls!
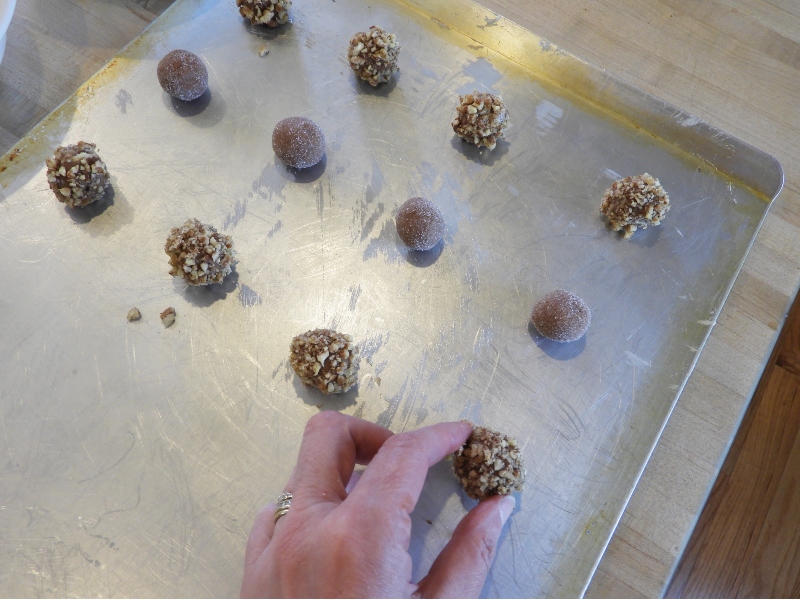
I placed the rolled cookies on the cookie sheets about 1 – 2 inches a part.
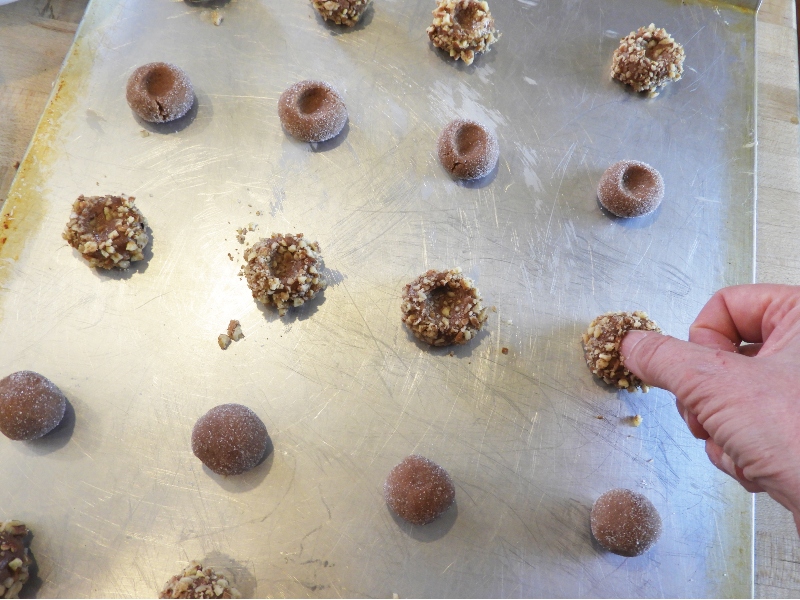
Next, I pressed my thumb in the center of the cookie balls. At first I thought the thumbprint was too bit or wide…but soon realized it was the perfect size indentation for the icing!
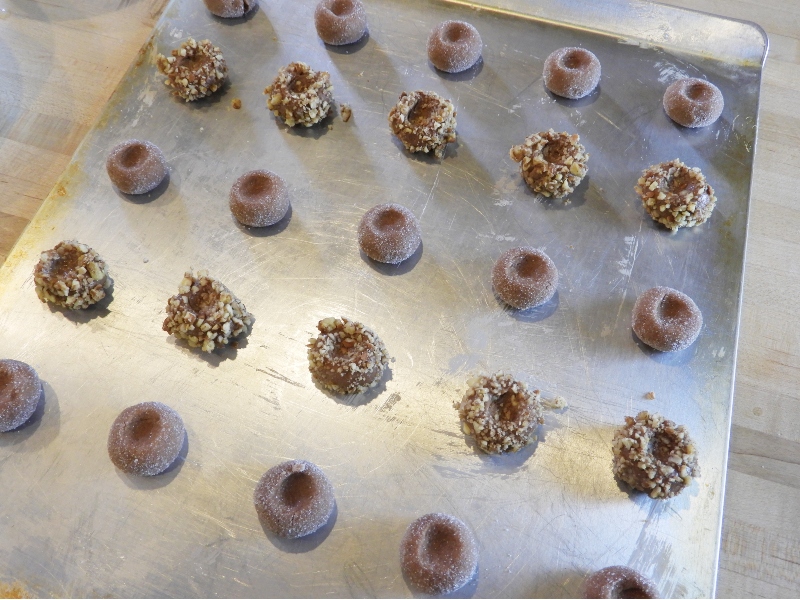
And I was ready to bake!
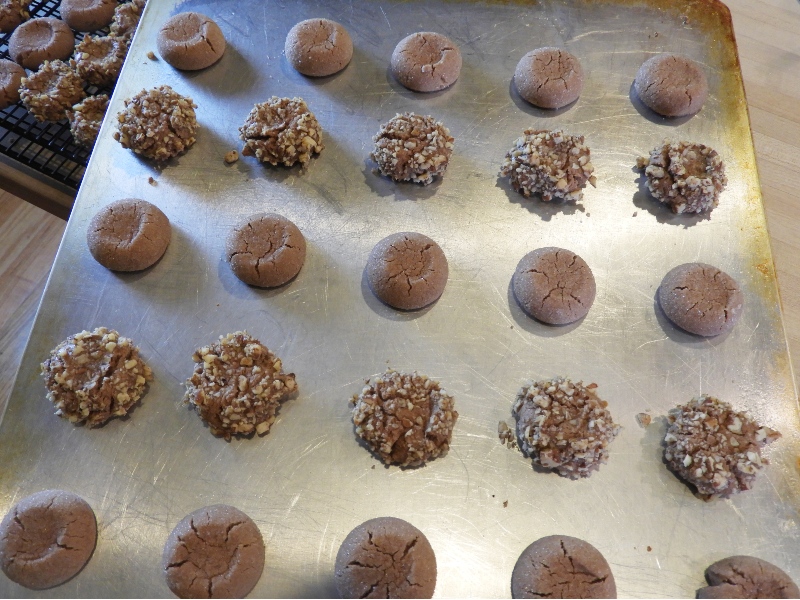
The cookies baked for 10 minutes and turned out perfect! The cookies grew and spread a bit and you can still see the thumbprint indentations…so far so good!
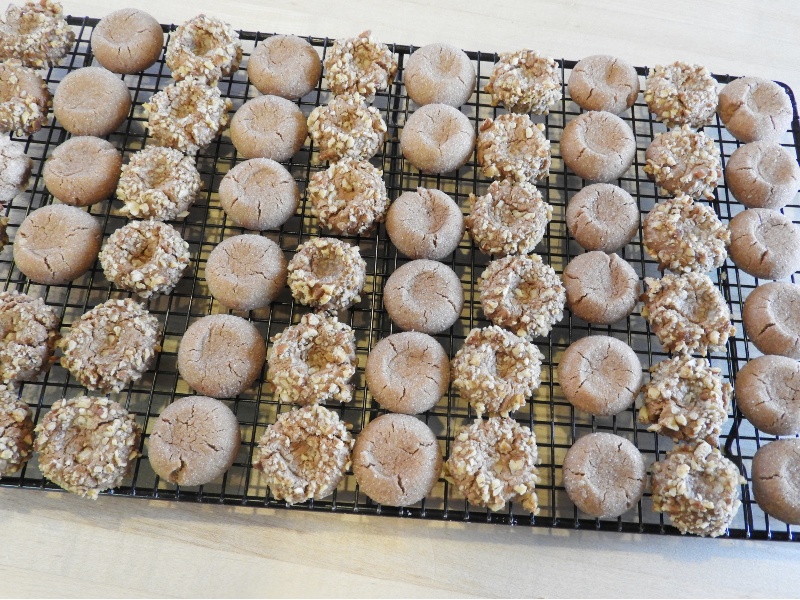
When all the cookies were baked, I was ready for the next step. The recipe says to fill the thumbprints with icing or candied fruit.
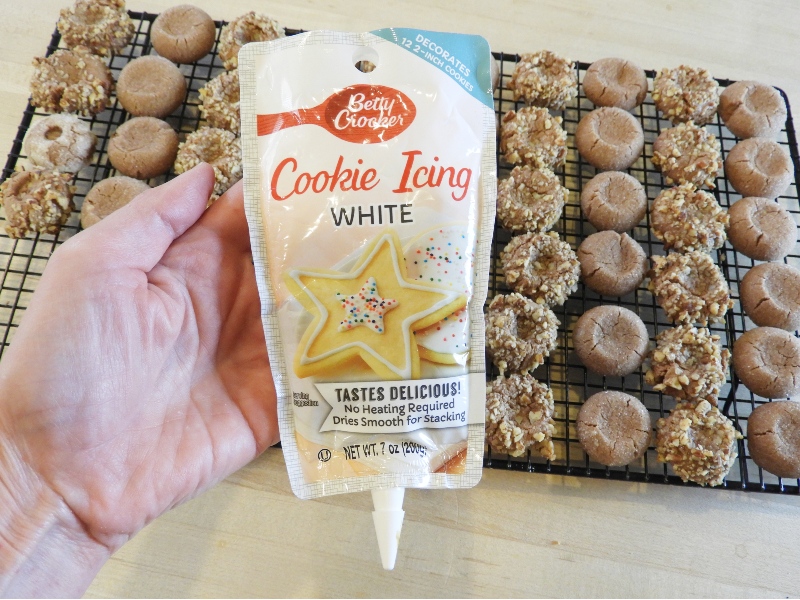
I just happened to have a packet of Betty Crocker’s frosting with the perfect applicator ready to go!
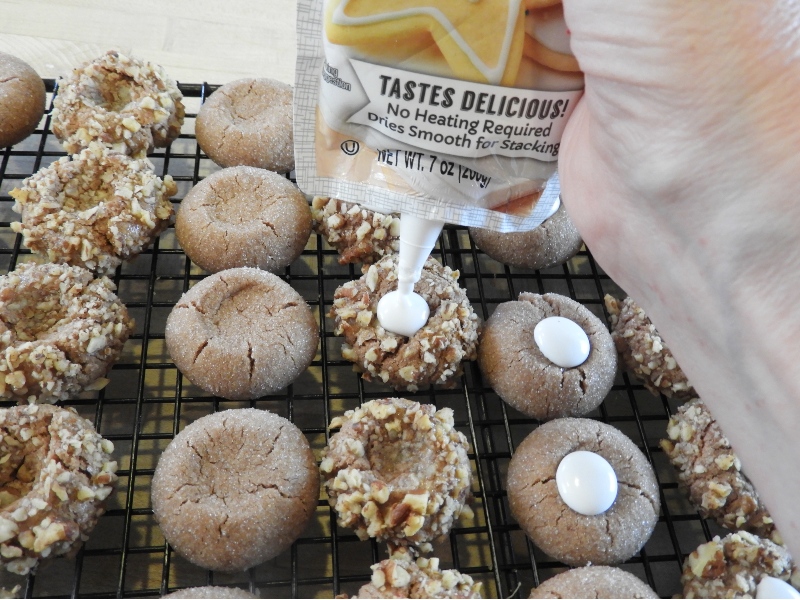
Using the applicator on the frosting packet worked great!. I squeezed about ½ teaspoon of icing into the thumbprint of each cookie. While I was filling the cookies, I just couldn’t get over how pretty the cookies were. The sugar and nuts and the icing was pretty as a picture ?
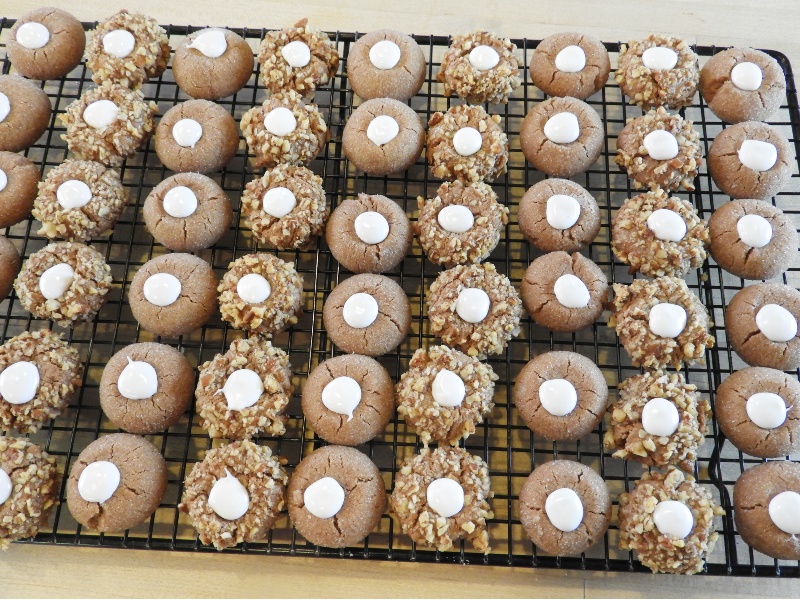
You can see for yourself how beautiful these cookies turned out! What a pretty cookie platter these will make!
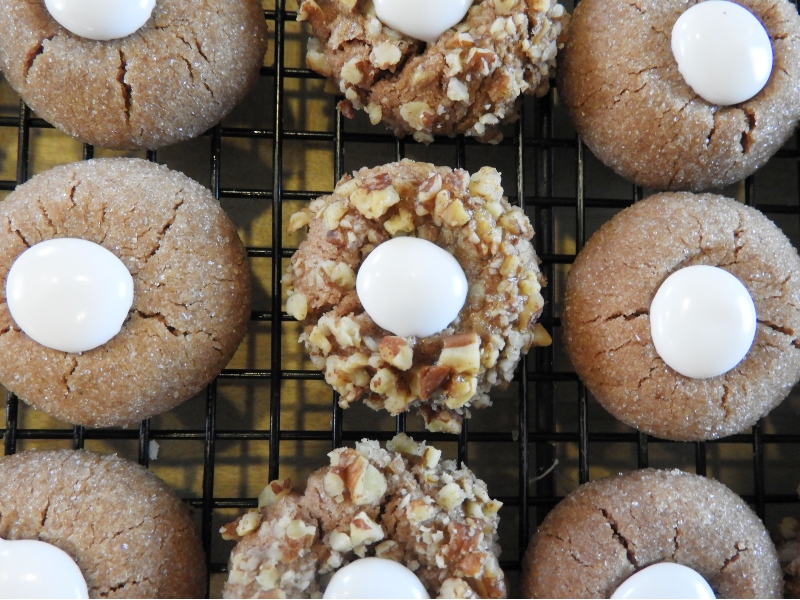
Beautiful and full of personality! They nuts next to the sugar with the icing on top…I just can’t get over how pretty they are.!
As pretty as Chocolate Thumbprint Cookies are, they taste even better. Just the right amount of chocolate paired with the option of sugar or nuts…topped with the sweetness of icing. Honestly, this recipe is definitely a top 10 favorite!
I hope you decide to make Chocolate Thumbprints…whether you decide to use pecan or walnuts, candied fruit or icing, everyone will love these cookies!
Enjoy!
XXOO,
Janet

Chocolate Thumbprint Cookies
Ingredients
1 cup butter
½ cup sugar
1 egg yolk
½ tsp vanilla
1 oz unsweetened chocolate, melted
2 cups sifted flor
¼ salt
¾ cup chopped nuts
Instructions
Cream until light and fluffy, butter, sugar, egg yolk, vanilla and melted chocolate. Add flour and salt. Mix well, Roll small amounts of dough into balls. Dip into slightly beaten egg white and then in chopped nuts or sugar. Place on slightly greased cookie sheets and press thumb in center of each. Bake at 350 degrees for 1- to 12 minutes. Fill cooked thumbprints with icing or candied fruit.
Recipe Yield
Makes about 5 - 6 dozen cookies 1x
Cookie Category: Molded or Shaped

