Walnut Surprises

Walnut Surprises are such a fun cookie to make! And even though they have a lot of steps, the process goes pretty fast! I was able to get these cookies mixed and baked in just over 2 hours! Not bad for a shaped, stuffed, brushed, and topped cookie! I wasn’t even tired after all those steps ?
After making the cookies, I felt like Grandma Bess had made these for us when I was a kid. I seem to remember a cookie with a surprise in the middle, or maybe it’s the cherry on top that seems familiar. Regardless, this cookie makes me think of Grandma Bess. I can just see her shaping and stuffing and placing a cherry on top. It’s kind of Grandma Bess in a nut shell…ha ha!
I am rating this cookie 3-stars, only because of all the steps in the process. As I mentioned, the process goes fast, but there is still prep time needed to chop the nuts and cherries, and to beat up the egg whites.
This is another cookie recipe you can definitely ask your kids to help with. The multiple steps will keep them entertained, burying the walnut will be fun, and there is no need to make the cookie shapes uniform, so kids can have fun and still end up with great looking cookies!
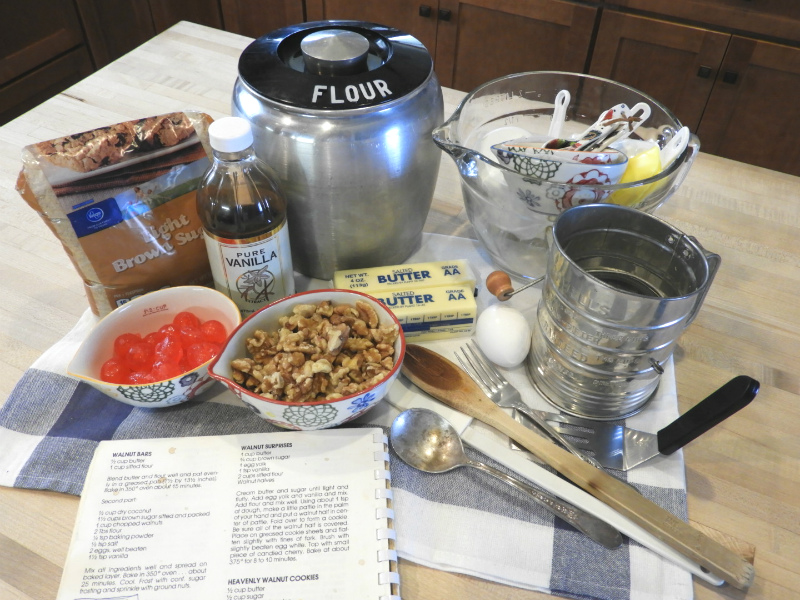
Let’s get started! After getting all my ingredients together, I started blending the butter and brown sugar.

There is something about butter and brown sugar that makes the best tasting cookie dough! This dough is worth a try, I promise!
Once the dough was all mixed up, I got my nuts, egg whites, and cherries together and set up my assembly line to start building cookies.

Step one in the process is to take a teaspoon of dough and press it out in the palm of your hand. As I did this for the first time, I realized the dough was sticking to my palm a bit, so I added a couple tablespoons of flour. This helped quite a bit with the rest of the cookies. After baking my test batch, I decided to add even more flour because the cookies spread too much. I would say you could add up to another 1/4 cup of flour if necessary to get the consistency of the dough right for baking.
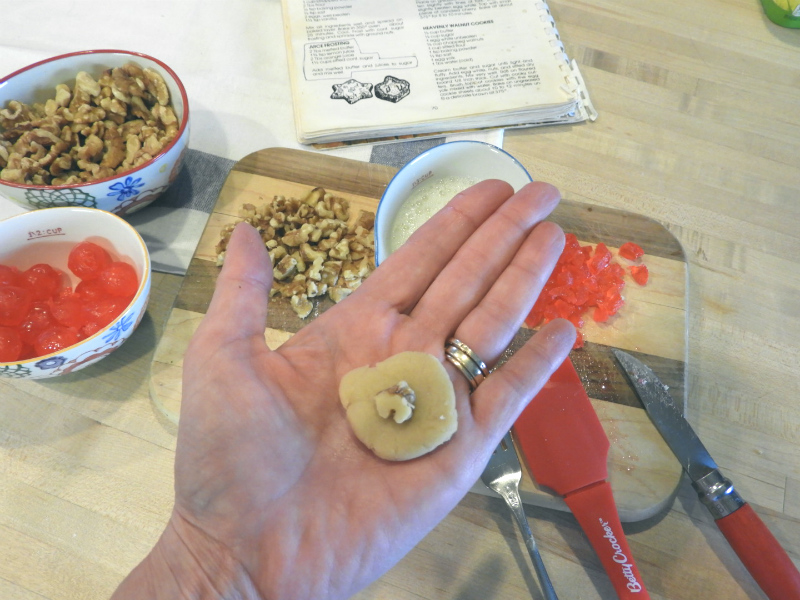
Step two is selecting a nut to hide in the center of the cookie…the Walnut Surprise! ? The recipe says to use a half of a walnut. I started using more like a quarter of a walnut, but ended up using larger pieces as I went on. A half of a walnut is rather big, so something in the middle of half and a quarter will work best.
Even though the name of this cookie is Walnut Surprises, I think you can use pecans or even put a chocolate, peanut butter or butterscotch chip in the middle! Or be even more creative and use all the above! Another idea to keep your kids excited and having fun baking! I’m definitely going to try this next time!
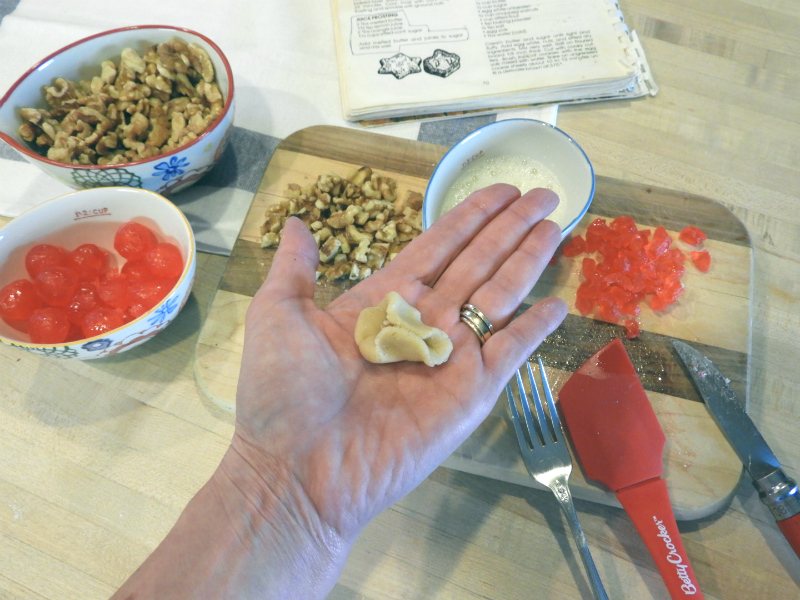
Step three is to wrap the dough around the walnut (hiding the nut) and making sure it’s fully covered with cookie dough. I found the best way to do this was to make sure the dough was evenly spread around the nut, as much as possible. This is important to ensure the nut doesn’t show after baking. I was off a bit a couple times, which resulted in a slight hole in the cookie that shows the walnut.

Step four in the process was to press a fork on the cookie slightly to show the fork tines. To be honest, I’m not really sure why or the purpose of this step. The tines pretty much bake away in the oven and with the cherry on top, you don’t really see them anyway. Regardless, I did as the recipe said.
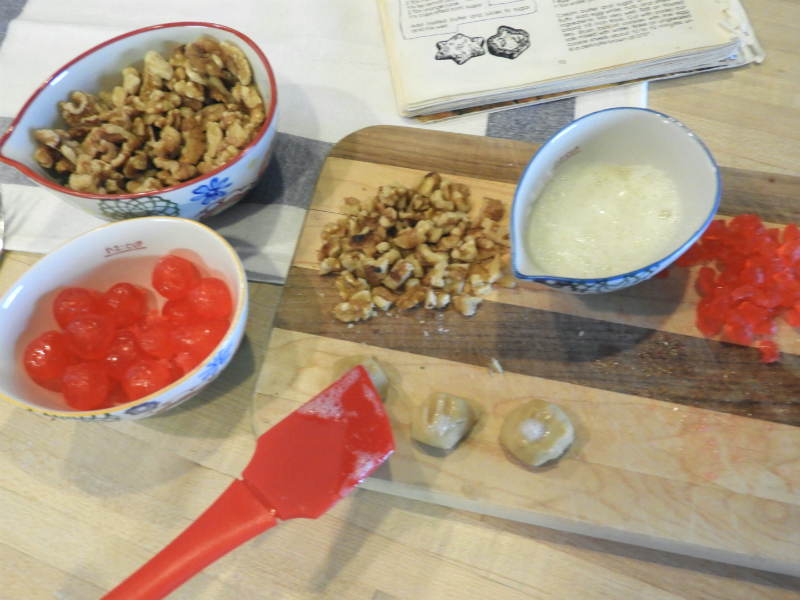
Step five is brushing the cookie with slightly beaten egg whites. Again, not sure why or the purpose of this step, but I did as I was told ? After baking, the egg white provided a slight shine to the top of the cookie, and it also browned a little.

Step six, the cherry on top! The recipe says to place a small piece of candied cherry on top of the cookie. I think I cut my cherries too small for the size of the cookie, but it’s really your preference…big, medium, or small cherry…you decide!

Whew! Finally, time to bake! Seriously, no sweat involved in these cookies. They are fun to build and the steps go very fast!
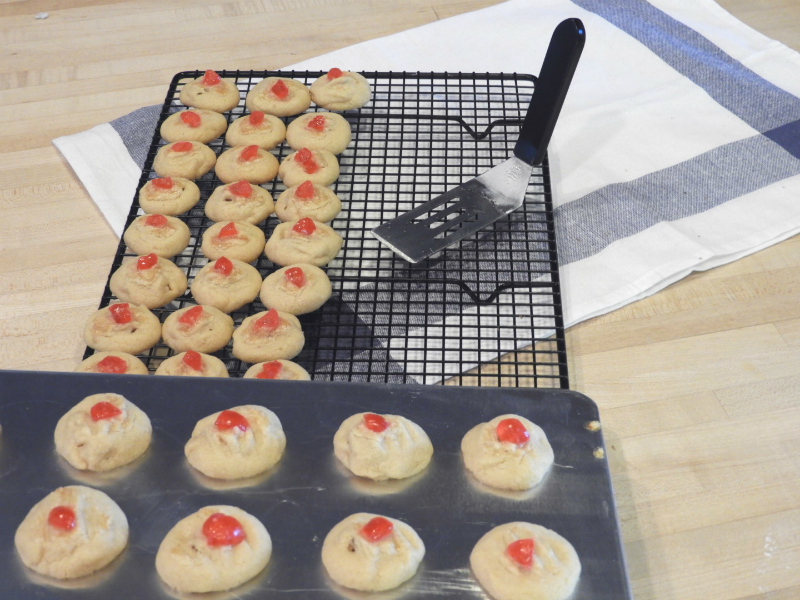
I needed to bake the cookies about 12 to 13 minutes in my oven to ensure they were done. The extra couple minutes didn’t change the color of the cookies, but it did firm them up and make them a little crunchy when cooled.
You can see in the picture, the couple holes showing the walnut inside. You can also see the fork tines almost disappear. The egg white turned slightly brown, but still gives the cookie a little shine.
You can also see the cookies spread out a little but did keep their round shape and the cherries on top moved around a little on some of the cookies. I will admit that I didn’t brush the last batch with egg whites…I wanted to see the difference. It wasn’t much. Unless I’m missing something, it seems okay to me to skip this step.
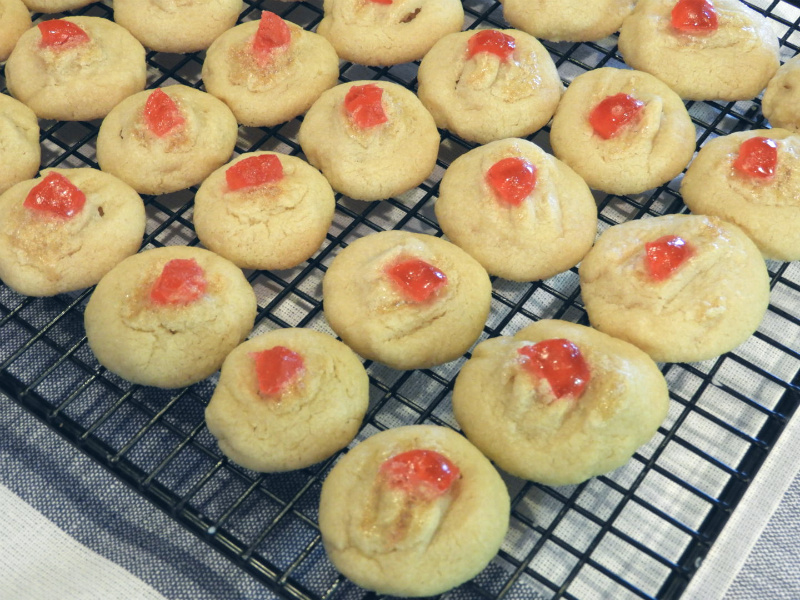
To be honest, and in my opinion, the finished cookies aren’t the prettiest. I do love the caramelly color of the cookie and the cherry on top gives it a nice pop of color. These cookies have that great brown sugar and butter sweet taste. The added nut surprise is fun and really gives this cookie a personality you don’t find in many cookies.
All in all, for me this cookie is a winner! I love all the steps involved, the surprise in the middle, and the pop of cherry color on top! Your kids will love to help make them and love to eat them when done…they are a great after school activity and are a perfect dessert for any occasion!
I’m excited to make these again, using a few different “surprises” in the middle. What a great idea for a birthday party or any type of get together with friends and family!
I hope you will try these cookies! I know you will just love the taste…and go ahead, be creative! Go to the Join The Community page to send me your ideas for difference “surprises” and I’d love to see your pictures too!
XXOO!
Janet

Walnut Surprises
Ingredients
1 cup butter
¾ cup brown sugar
1 egg yolk
1 tsp vanilla
2 cups sifted flour
Walnut halves
Instructions
Cream butter and sugar until light and fluffy. Add egg yolk and vanilla and mix. Add flour and mix well. Using about 1 teaspoon of dough, made a little pattie in the palm of your hand and put a walnut half in center of pattie. Fold over to form a cookie. Be sure all of the walnut half is covered. Place on greased cookie sheet and flatten slightly with tines of a fork. Brush with slightly beaten egg white. Top with small piece of candied cherry. Bake at about 375 degrees for 8 to 10 minutes.
Recipe Yield
Makes about 6 dozen cookies 1x
Cookie Category: Molded or Shaped


JANET…. Another winner !!!!!! How we.( my twin brother, RON ) enjoyed these cookies….. Mother, BESS, enjoyed making them for us… AND WE ENJOYED EATING THEM !!! After school… yes.. and NEVER interfered with supper (dinner)… and , ALWAYS, with LARGE glass of milk.. !!!!
★★★★★
Yummy!