Chocolate Mint Dreams

Dream Dream and then Dream some more…about Cookies by Bess’ Chocolate Mint Dreams! I think Chocolate Mint Dreams are the perfect cookies for chocolate lovers. My brother and niece have been making this recipe for years. I’ve made them twice now (as you’ll see by the frosting colors shown below). It’s easy to see why my bro and niece love them so much. They are super chocolatey, super minty, and who doesn’t love a sandwich cookie!
Not only do Chocolate Mint Dreams taste good, the recipe is fun to make! There are a bunch of steps that go into building each cookie. It can be a great afternoon activity for kids! And after all their hard work, they will have a great snack to reward themselves with!
I just love the sandwich idea! The first time I baked these cookies was around Valentine’s Day so I used pink frosting. The second, I make green frosting for St. Patrick’s Day. Next time, I think I’ll try purple frosting! ?
I’m rating Chocolate Mint Dreams 3-stars for cookie baking difficulty due to all the steps and the time needed to make the cookies. As usual, none of the steps are difficult, just need to follow the instructions carefully and have fun with the baking process!
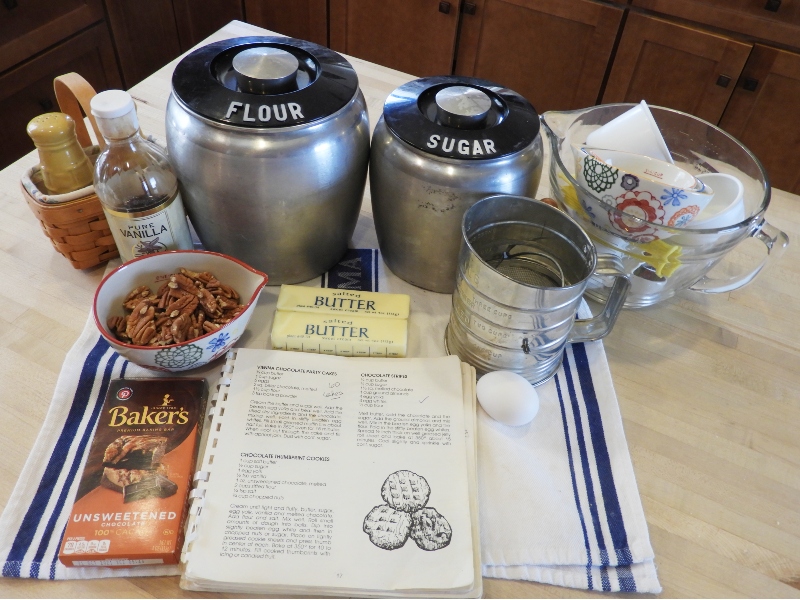
After getting organized and gathering all my ingredients and utensils together, I got started. My first step was to prepare everything for mixing so I didn’t have to start and stop to add each ingredient.
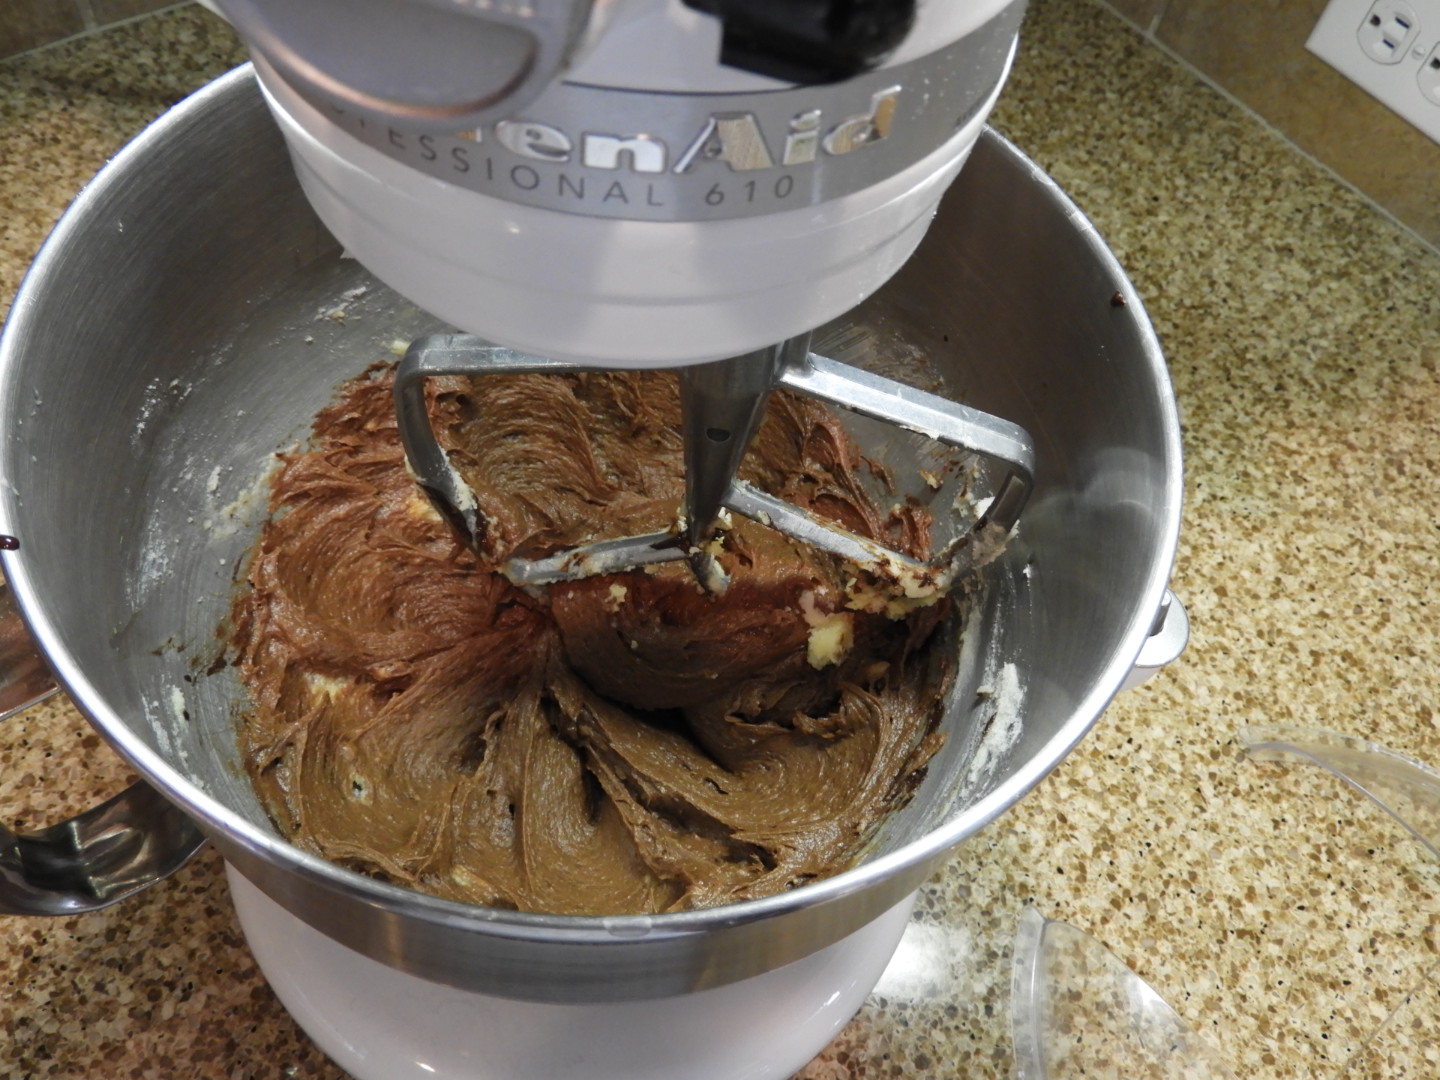
As the chocolate was melting on the stove, I put the butter and sugar in the mixer, and then sifted my dry ingredients. I always amazed at how little chocolate it takes to bring in so much flavor and a rich chocolatey color.
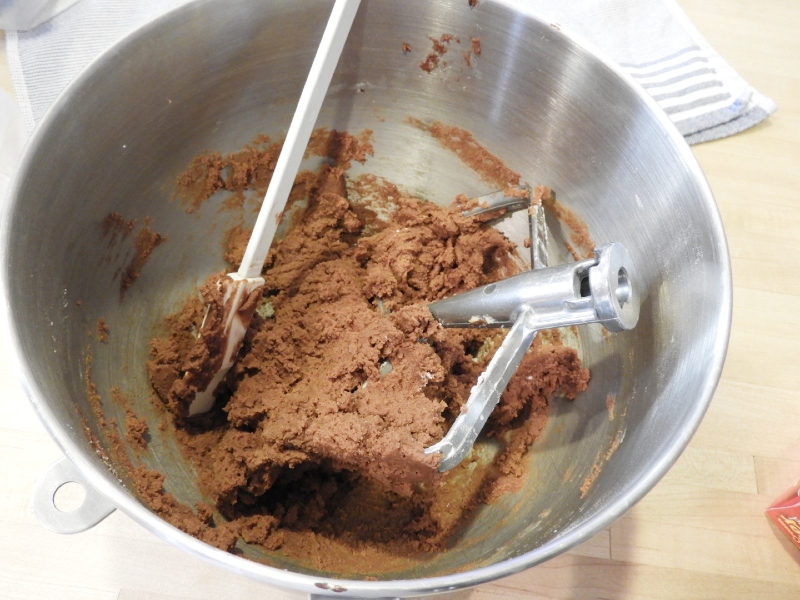
Next, adding in the sifted dry ingredients helped thicken and firm up the cookie dough, which was necessary for the next step.
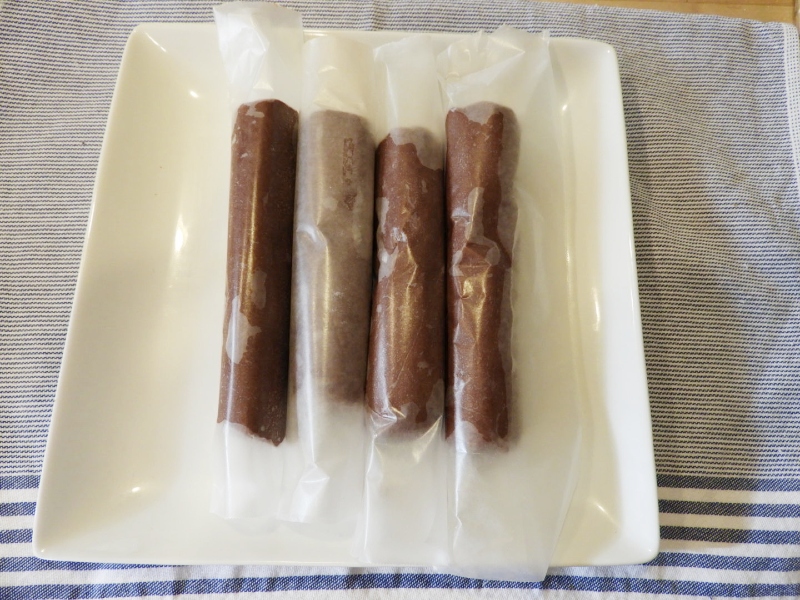
The dough was thick and firm, but still seemed a little sticky for rolling. I was pleasantly surprised that the rolls formed nicely. The recipe says to “Shape into roll; wrap in wax paper”. I opted to shape into several rolls to make it easier to manage the diameter of each roll and chill in the refrigerator.
The rolls chilled in the refrigerator for 45 minutes as it says in the recipe.
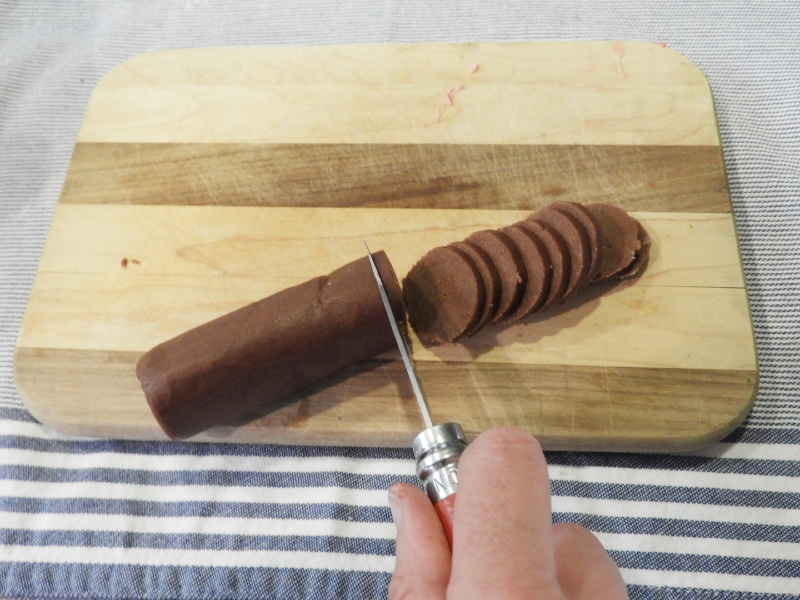
Slicing the rolls into cookies went smoothly. I did have to reshape some of the slices before putting them on the cookie sheets, but the dough was easy to work with making it easy to reshape as needed. I tried to keep the cookie slices as consistent as possible. The 1/8 inch slices seemed thick, but if you are a chocolate lover, the thicker the slice the better…I’m just saying! ?
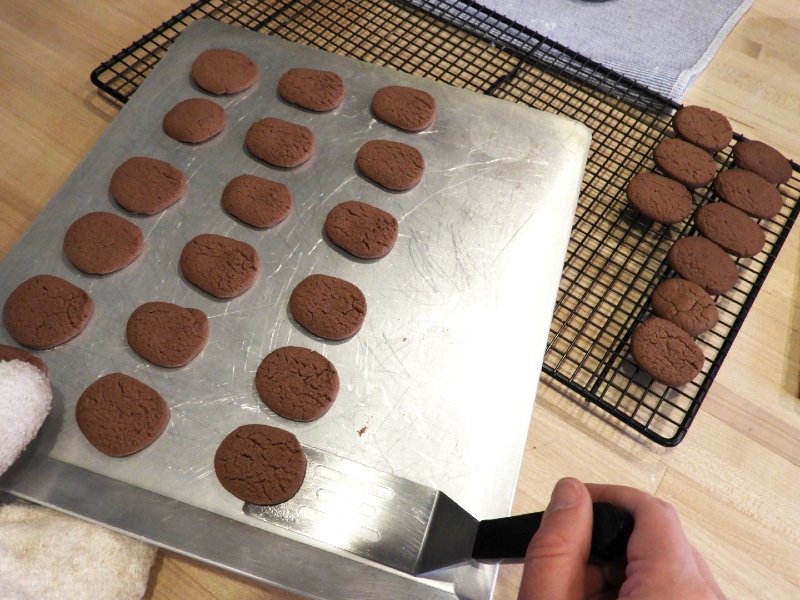
I baked the cookies for 10 minutes. They were firm to the touch when I took them out of the oven, and they crisped up a bit while cooling. The cookies didn’t spread much while baking and kept their round shape. It’s important to keep the cookies as consistent in shape as possible so when building your sandwiches, the cookies fit together nicely.
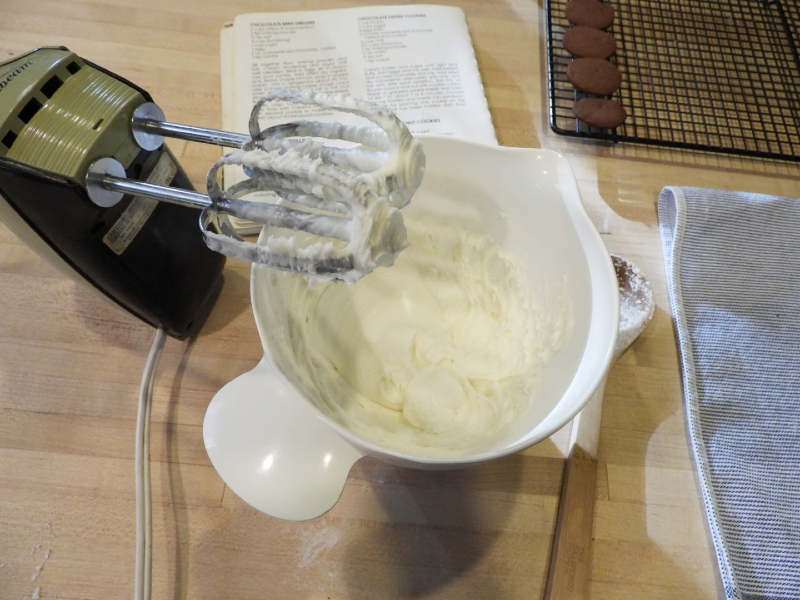
While slicing and baking the cookies, I made the Creamy Mint Filling.
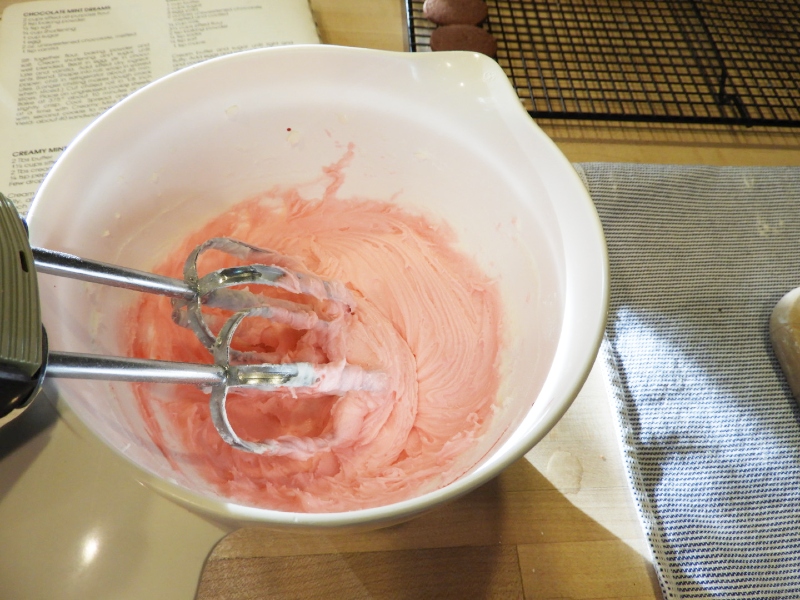
The first time around, I opted for pink food coloring. I used the electric hand mixer to make sure the butter and sugar blended together. The cream helped to smooth out any lumps. A 1/4 teaspoon of peppermint extract didn’t seem like enough, so I added a bit more to make sure there was enough mint flavor.
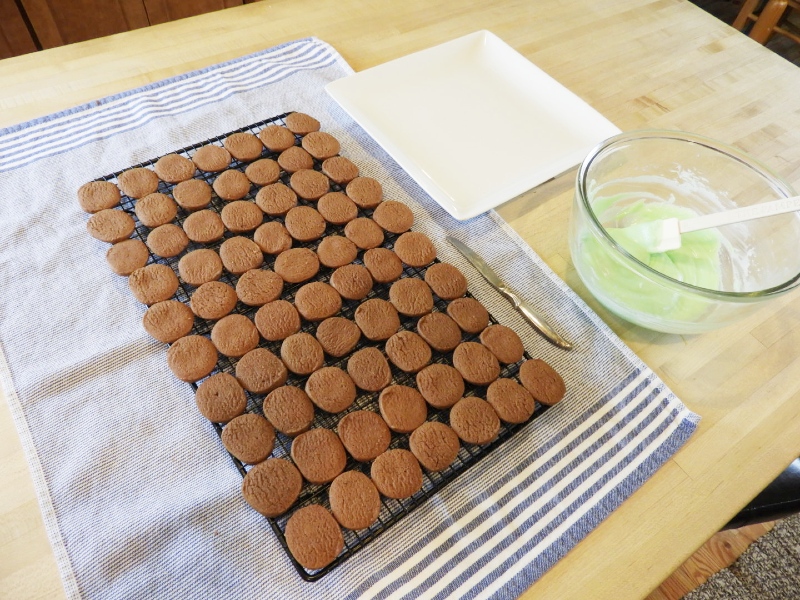
Finally, it was time to frost and build these cookies!
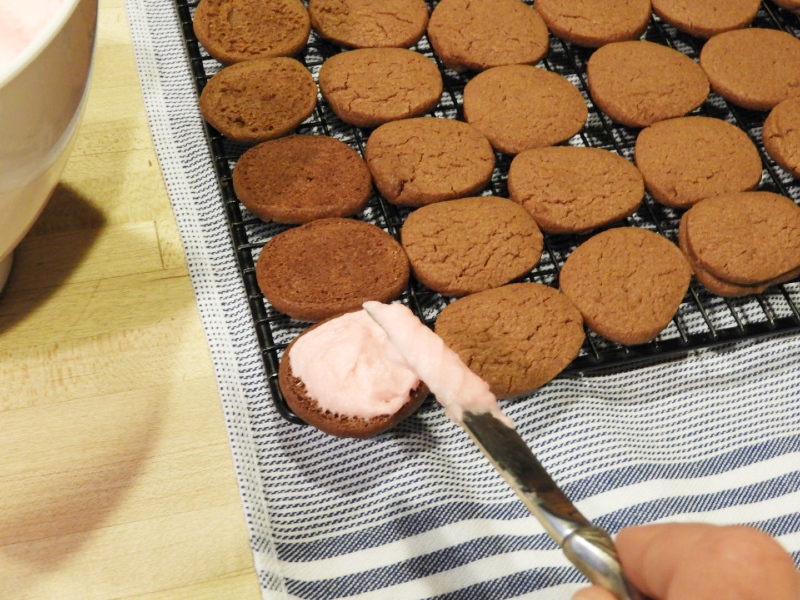

The Creamy Mint Filling recipe made a good amount of frosting, so I was able to really lather it on!
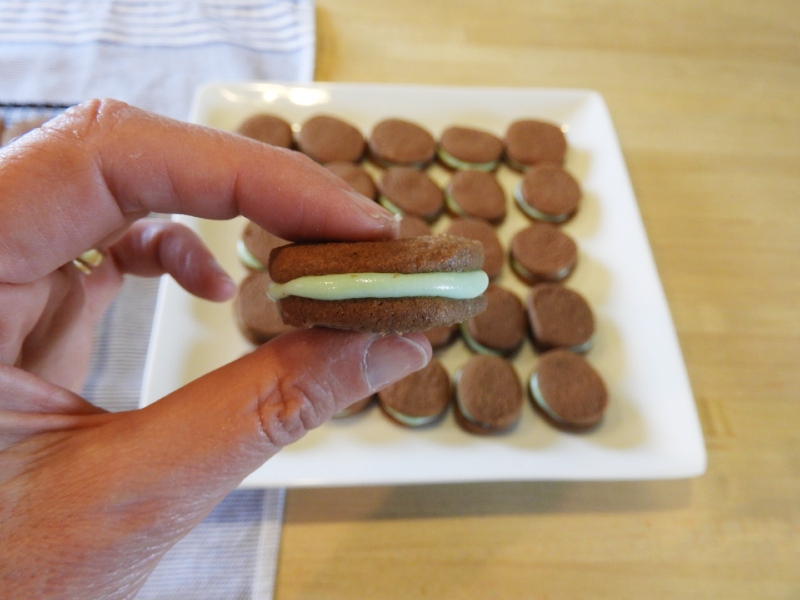
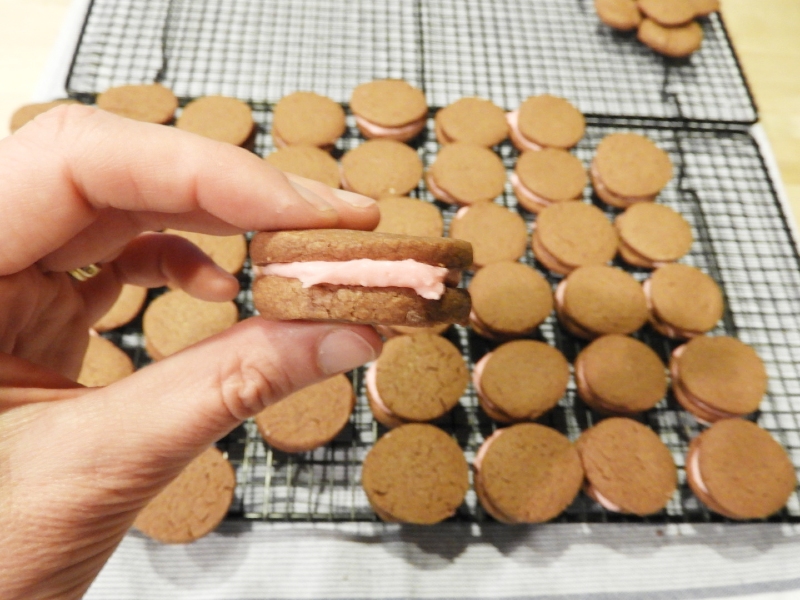
The recipe made about 40 sandwich cookies, with a few odds and ends left over. But have no fear, noting went to waste…the cookies are almost like wafers, so they odds and ends went directly to my bowl of ice cream! What a combination! Next, I think I’ll crush one (or two) of the sandwich cookies…I just love mint flavor in my ice cream!
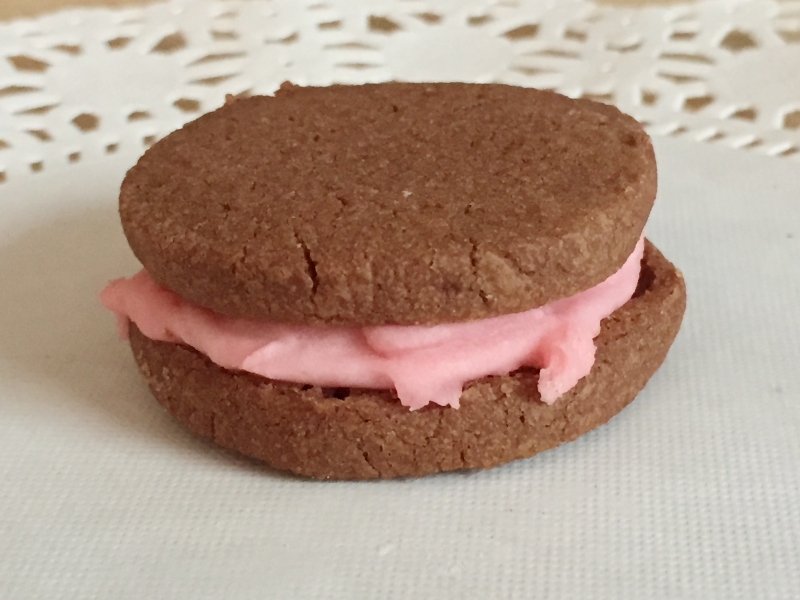
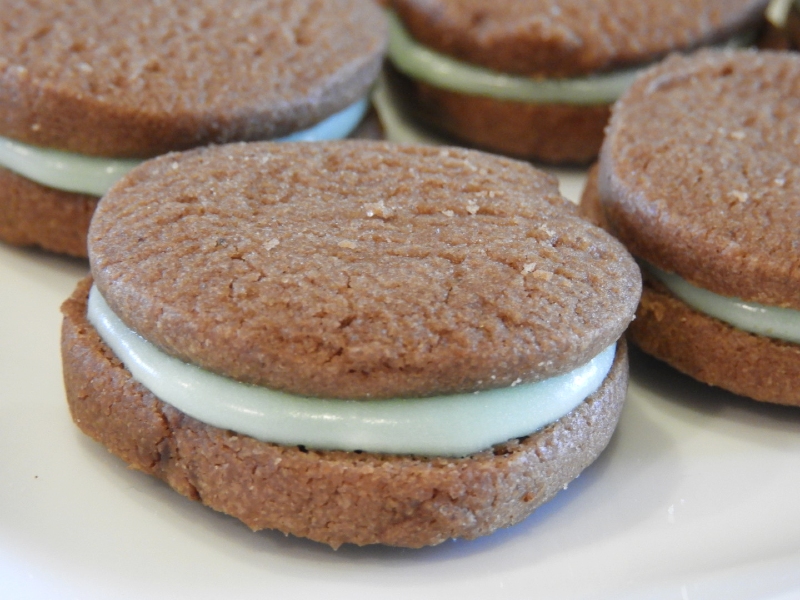
Chocolate Mint Dreams are a special cookie! They have everything you could want all sandwiched together. The cookie is full of rich chocolate flavor, the filling is minty and fresh, and the combination of the chocolate and mint together is just to die for!
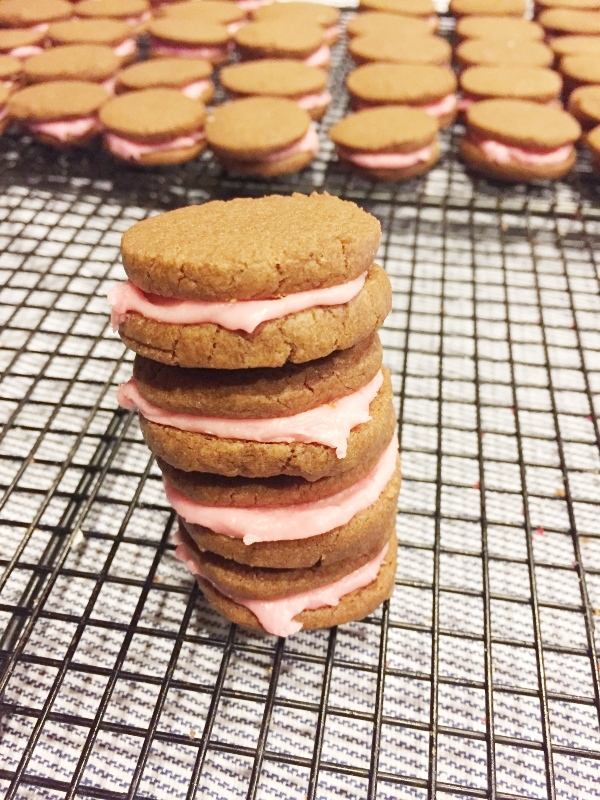
Chocolate Mint Dreams are another top 10 Cookies by Bess cookie recipe! So much chocolate flavor with a wonderful minty frosting. Fun to make, fun to eat…they look great, taste great and they even freeze great! Although these cookies won’t last long enough to freeze…
Enjoy!
XXOO,
Janet

Chocolate Mint Dreams
Ingredients
2 cups sifted all-purpose flour
2 tsp baking powder
½ tsp salt
¾ cup shortening
1 cup butter
1 egg
2 oz unsweetened chocolate, melted
1 tsp vanilla
Instructions
Sift together flour, baking powder, and salt. Cream shortening and sugar until well blended. Beat in egg; stir in chocolate and vanilla. Add sifted dry ingredients. Blend. Sha into roll(s); wrap in waxed paper; chill in refrigerator about 45 minutes. (Longer chilling makes dough crack when sliced.) Cut chilled roll in 1/8 inch slices. Place on ungreased cookie sheets. Bake at 375 degrees for about 10 minutes or until slightly crisp. Cool. Spread one cookie at a time with Creamy Mint Filling; top with second cookie to make a sandwich.
Notes
Creamy Mint Filling
2 Tbs butter
1 ½ cups sifted confectioner’s sugar
2 Tbs cream
¼ tsp peppermint extract
Few drops green food coloring
Cream butter until soft; add sugar gradually, alternating with cream. Beat after each addition until well blended. Stir in peppermint extract and green food coloring.
Recipe Yield
Makes about 40 sandwich cookies 1x
Cookie Category: Refrigerator

